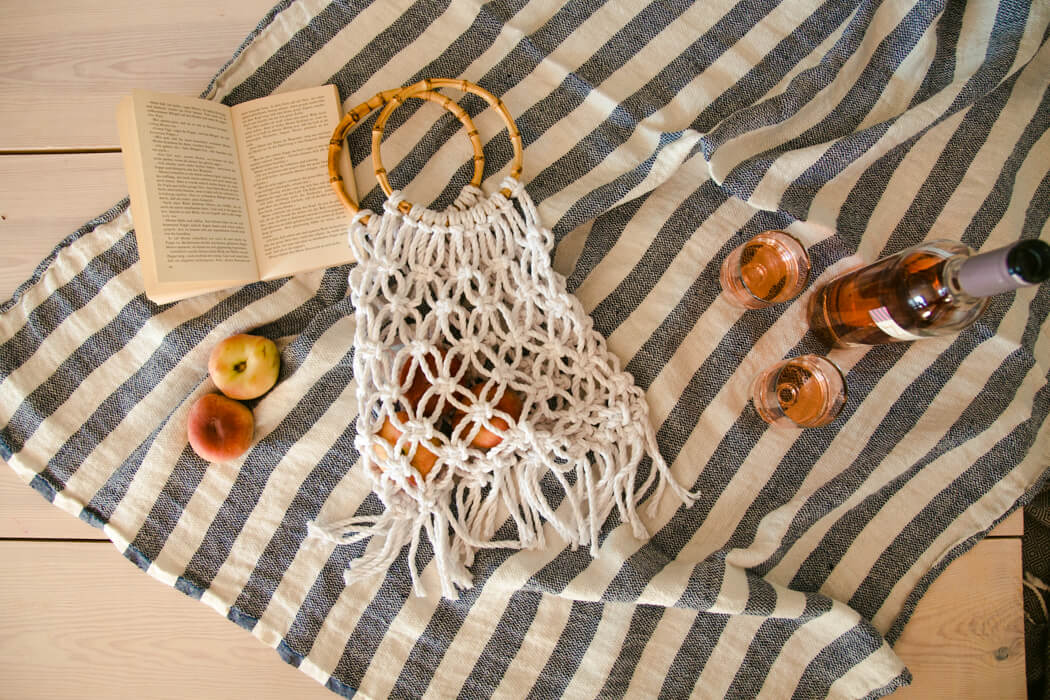
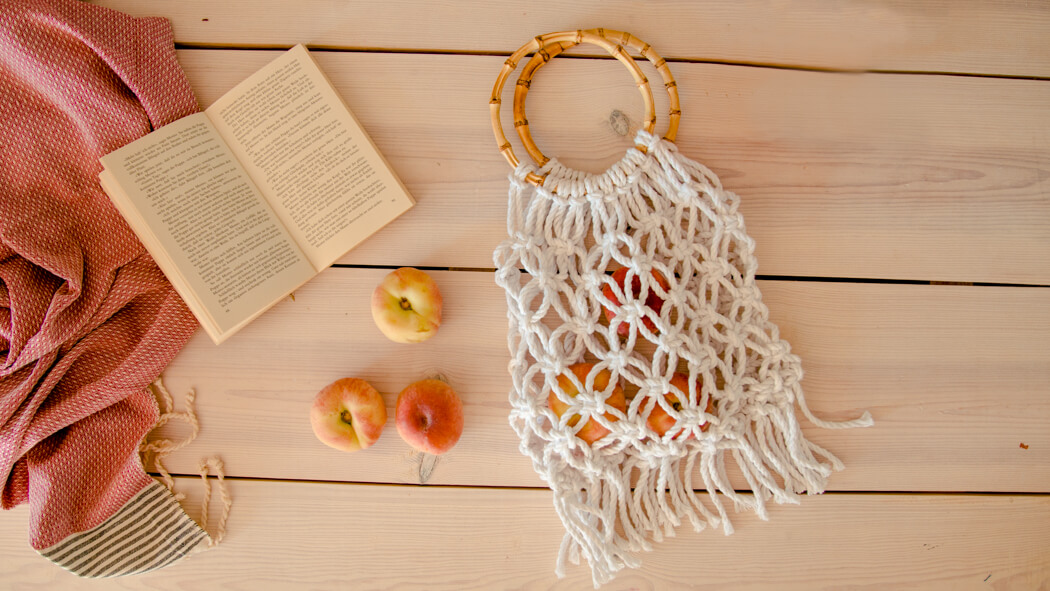
Market bags are trending and I love this macrame version of it. The slightly thicker macrame thread makes the market bag more stable than the crocheted version and of course the macrame look is just super cool …
Market bags are totally trendy right now, the look is somehow light and summery and a bit retro. This DIY macrame market bag is quickly knotted and is somewhat more stable than a crocheted market bag due to the somewhat thicker macrame cotton ropes.
I really like the macrame look for the bag and am thinking of trying a version with thinner thread and a knotted shoulder strap … what do you think?
DIY MACRAME HANDBAG INSTRUCTIONS
The macrame handbag is actually super simple because it only consists of square knots. I have already explained the basics in the macrame lamp video . So if you want to take a closer look at it again, please stop by again.
MATERIALS
For a DIY macrame handbag you need the following materials:
- Straw handbag
- Raffia
- Embroidery needle
- small scissors
NOTE:
Macrame yarn varies greatly in thickness, so it is best to have a look at it beforehand or order the same 😉
TIPS & TRICKS
1.
Cut macrame ropes – You need 10 cotton ropes of 1.20cm each, i.e. 20 cuts
2.
Loop cotton ropes around the rings – take 10 of the ropes in half and loop them around the ring. Then hang up the rings somewhere to knot.
3.
Tie square knots – The first row of square knots can now be set with even spacing. If you want to take a closer look at it, check out the video or the illustrated version in the macrame lamp blog post.
4th
Rows 2-5 knots – For all further rows, we leave out the outer knots, which we need to connect the two sides of the bag evenly with each other at the end. This creates a knotted triangle for both rignes down to a knot in the middle.
5.
Putting the sides together – hang the rings side by side and fill in the missing knots. After the first row there are 2 threads over on both sides, which together again form a square knot. In the third row 2 nodes can be added, etc. Then fold over and connect the two sides on the other side in the same way.
6.
Bottom knot – The macrame market bag can now be finished in different ways. Often the remaining cords are simply tied together. I put another row on top and then laid the final row flat on the floor and knotted ropes from the front and back to form square knots.